Making your fantasy map for FREE
As an indie author, you've got to do some things yourself. If you're like me and prefer spending hours on end watching YouTube video's on how to draw mountains, you've come to the right place.
I want to keep this tutorial short. I'm an efficient woman (as you might discover from reading my stories). So, let's get into it.
Disclosure: The only thing that has cost me money is the drawing tablet I use to draw. I bought it second-hand about five years ago and I've learned to use it quite okay-ish with the years. There is a learning curve, and if you count that into what you need for this tutorial (besides your laptop and internet), then it will not be free.
The programs I talk about are, though. If you're thinking about making more drawings/maps/illustrations on your computer, I recommend checking one out.
Step 1
Before you go into the deep end, I find it easier to start by using the ready-to-use tools the internet offers us. Go to inkarnate.com, make a free account and play your heart out.
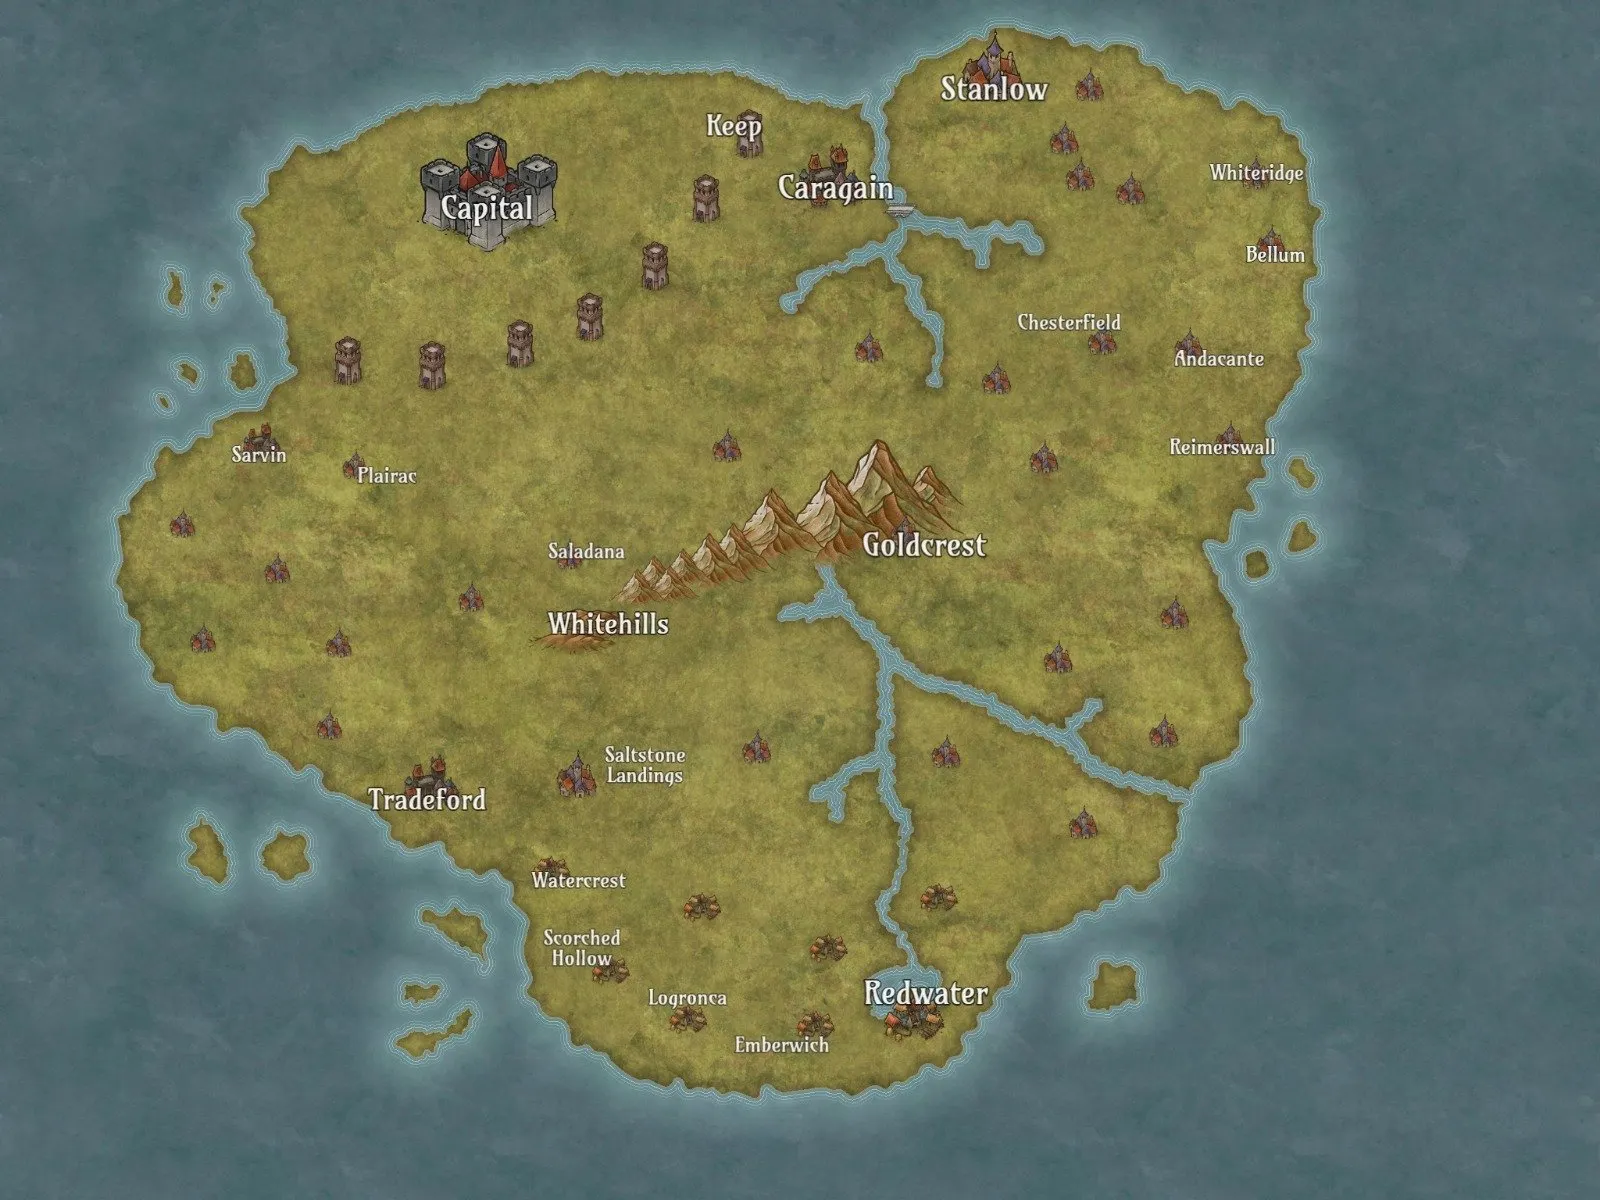
Did you make the map you want? It doesn't have to be perfect. That will come with the following steps ;)
Here is an example of my map:

Step 2
If you don't have it already, download Krita - one of the free versions of Photoshop. I've been using it for years and I think it's more than enough for what I need from it. If you have another that works for you, keep using it. They probably do the same.
Make a new page. IMPORTANT DETAIL: add the size you want (I did a horizontal A4 because I wanted the map to fit two A5 pages) AND add the resolution. I read it should be at least 300 PPI (pixels per inch). If you want a really good resolution (Yes, you want that), make it 600 PPI.
Step 3
Copy the map from Inkarnate into the new Krita page (you can download it and then open it in Krita).
By clicking on the highlighted button on the picture below, you can make the map the same size as the page.
Step 4
Go to town! It's time to draw the lines.
From the YouTube videos I saw, there is a handy way of doing this.
TIP BEFORE YOU START: create a new layer for each element. That makes working easier. If you want to erase, let's say a tree near a mountain, it's easy to do so if they are in different layers. You only erase things from the layer you are in. Trust me, this is handy. Learn from my mistakes. I've had to redo some parts that came out nicely (better than the second time around) because I'd done it all on the same layer.
First of all, you're going to make the shorelines and add the rivers and lakes.
Secondly, you're going to make the water lines around the shorelines and inside the lakes (see picture bellow).
Only the shorelines and lakes:
Same part but with waterlines around it:
